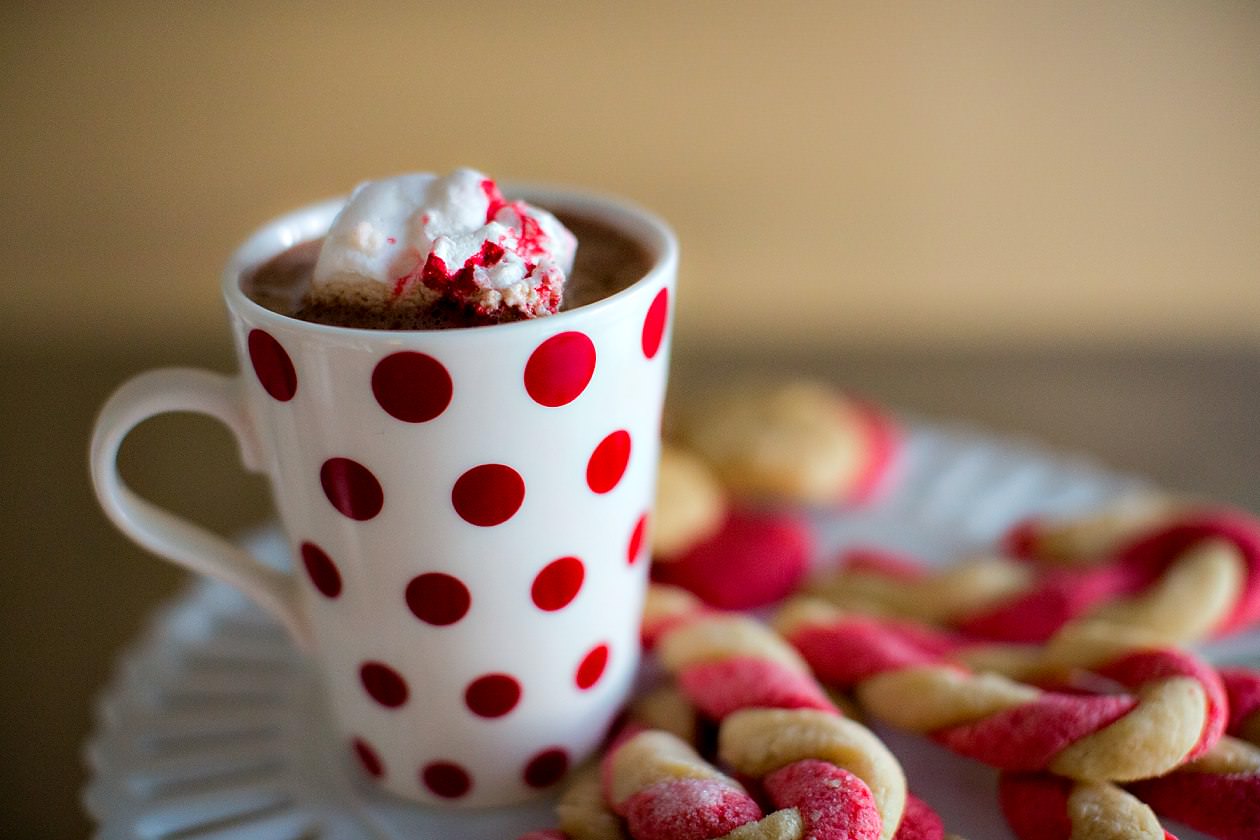
Was this a seriously fast holiday season for anyone else? Since Thanksgiving was a week later than normal, I’ve been feeling the lack of that fourth holiday week to check everything off my Christmas to-dos. Presents bought? Check. Wrapped? Not so much. Decorations up? Check. House cleaned? Hmmm….
So if you’re anything like me and still have a few folks left on your list and need something quick and easy to give, these peppermint flavored Candy-Cane Marshmallows from Martha Stewart just might keep your boat afloat for another few days until the bells ring in Christmas morning. I’m not the kind of person that’s ever been inclined to make candy – a few kitchen mishaps long ago including some caramelized sugar burns sent me packing far away from the candy realm of cooking. But my fellow kitchen goddess blogger and Recipe Sunday assistant, Jenny, swore by these marshmallows, so I broke my ‘never again’ pact and figured a reunion tour was in order.
These have very little ingredients and are fast to make, but it does take some multi-tasking skills to get just it right. There’s a couple of ‘must do immediately’ moments, but even if they don’t turn out looking perfect, they will always TASTE perfect, especially in a piping hot cup of cocoa.
You’ll need the usual candy suspects – sugar, corn syrup, gelatin, coloring, and flavoring.


We’ll be using just a drop or two of peppermint extract, but you could use other flavors as well, whatever the season! First, spray an 8-inch square pan with cooking spray and line with parchment paper.

Put sugar, corn syrup, and 3/4 cup water into a saucepan and cook over medium heat until the sugar is dissolved (the liquid will turn clear when fully dissolved). Then raise the heat and bring the mixture to a boil until a candy thermometer reaches 260 degrees.


At this point, you’ll be doing about three things all at once, so having someone help you is pretty essential! Of course, Martha Stewart doesn’t tell you this because she’s five humans in one, but for the rest of us, get some help. Your innocent burn-less hands will thank you! First, sprinkle the gelatin mixture over a bowl of 3/4 cup water and let it stand for five minutes until it’s softened. Then you need to start beating the egg whites in your kitchen mixer with the whisk attachment until soft peaks form.


Then we used the candy mixture that was already simmering and whisked the gelatin mixture over it until the gelatin was dissolved. Add the peppermint and once the egg whites are ready, add the gelatin mixture to the sugar mixture. Then gradually add the hot mixture to the egg whites. Mix on high until very thick, about 15 minutes.


It will grow and grow and grow until it overtakes your mixer!


Once the mixture turns into a soft but formed marshmallow mixture (but not before – it needs to be somewhat stiff so be patient and let it mix), it’s game time! Working as quickly as you can, transfer the marshmallow mixture into the parchment lined pan. You need to get the marble coloring into the marshmallow before it starts to set, which will only be a couple of minutes.


Drop only two or three drops onto the marshmallow and use a toothpick to swirl the color into a marble effect. Ours became a little too stiff by the time we marbled (blame the photographer with her constant snapping of pictures – sheesh!), but it still looked cute in it’s own way!

Put the marshmallow aside and let it set at room temperature for three hours or overnight.

Once it’s set completely, cut it up into marshmallow chunks and eat alone or dunk in hot chocolate, coffee, black tea or on top of ice cream! YUMYUMYUMYUMYUM!


Candy-Cane Marshmallows
(view original recipe from Martha Stewart)
- Vegetable-oil cooking spray
- 2 cups sugar
- 1 tablespoon light corn syrup
- 4 packages (1/4 ounce each) unflavored gelatin
- 3/4 teaspoon peppermint extract
- 2 large egg whites
- 2 teaspoons red food coloring
Directions:
1. Coat an 8-inch square pan with cooking spray; line bottom with parchment paper. Coat the parchment with cooking spray, and set pan aside. Put sugar, corn syrup, and 3/4 cup water in a small saucepan. Cook over medium heat, stirring, until sugar is dissolved. Stop stirring; let mixture come to a boil. Raise heat to medium-high; cook until mixture registers 260 degrees on a candy thermometer.
2. Meanwhile, sprinkle gelatin over 3/4 cup water in a heatproof bowl; let stand 5 minutes to soften. Set the bowl with the gelatin mixture over a pan of simmering water; whisk constantly until gelatin is dissolved. Remove from heat, and stir in extract; set aside.
3. Beat egg whites in the bowl of an electric mixer fitted with the whisk attachment until stiff (but not dry) peaks form. Whisk gelatin mixture into sugar mixture; with mixer running, gradually add to egg whites. Mix on high speed until very thick, 12 to 15 minutes.
4. Pour mixture into lined pan. Working quickly, drop dots of red food coloring across surface of marshmallow. Using a toothpick, swirl food coloring into marshmallow to create a marbleized effect. Let marshmallow stand, uncovered, at room temperature until firm, at least 3 hours or overnight. Cut into squares.
Hugs,
Erin


