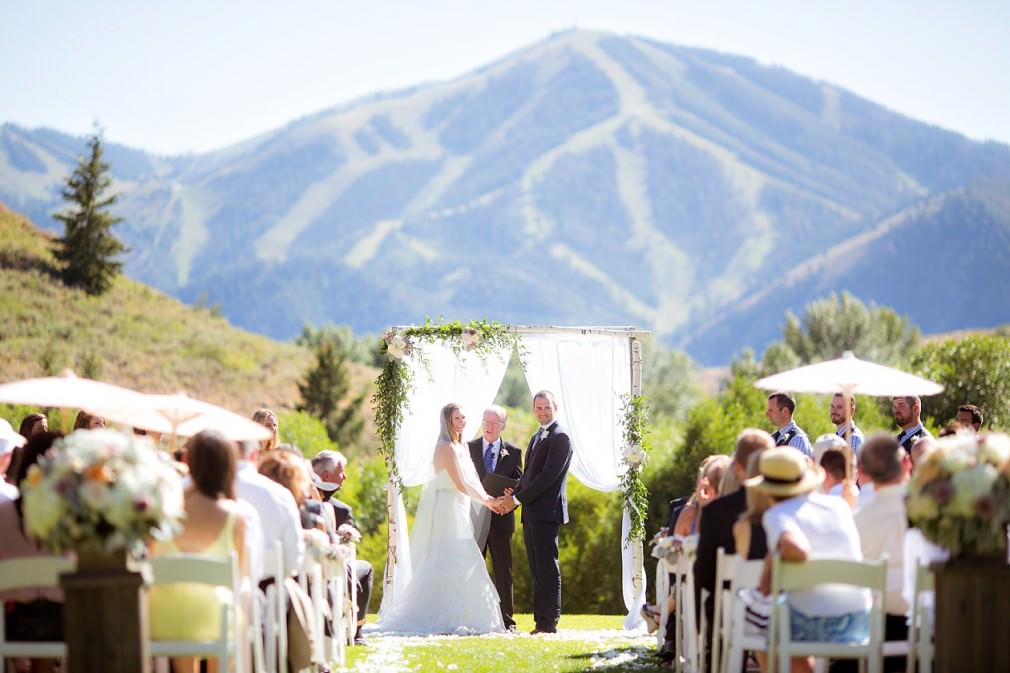
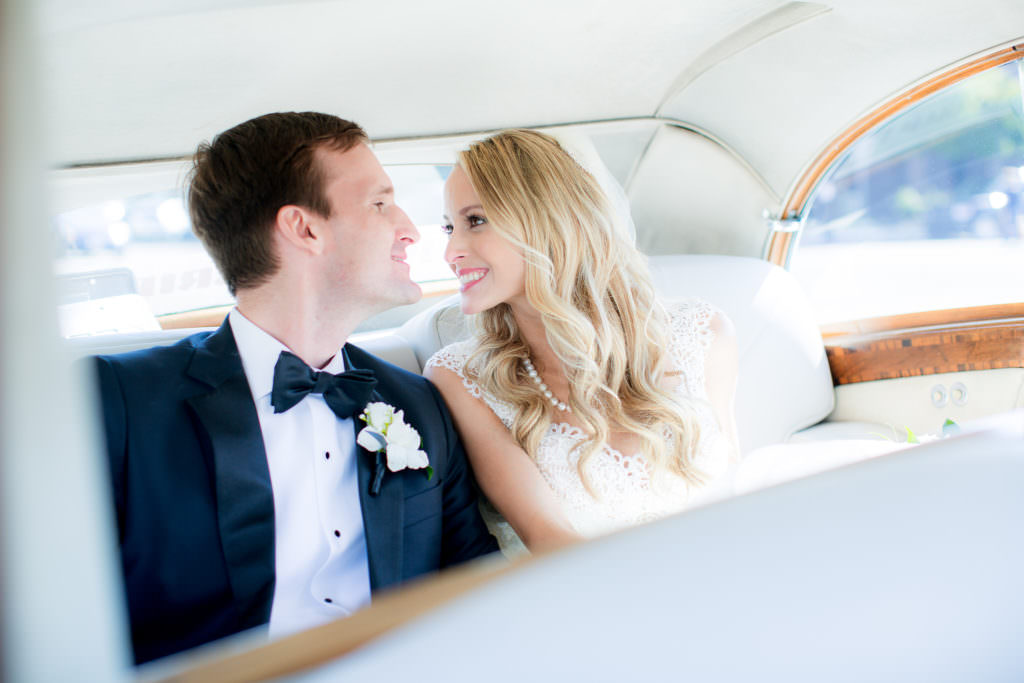
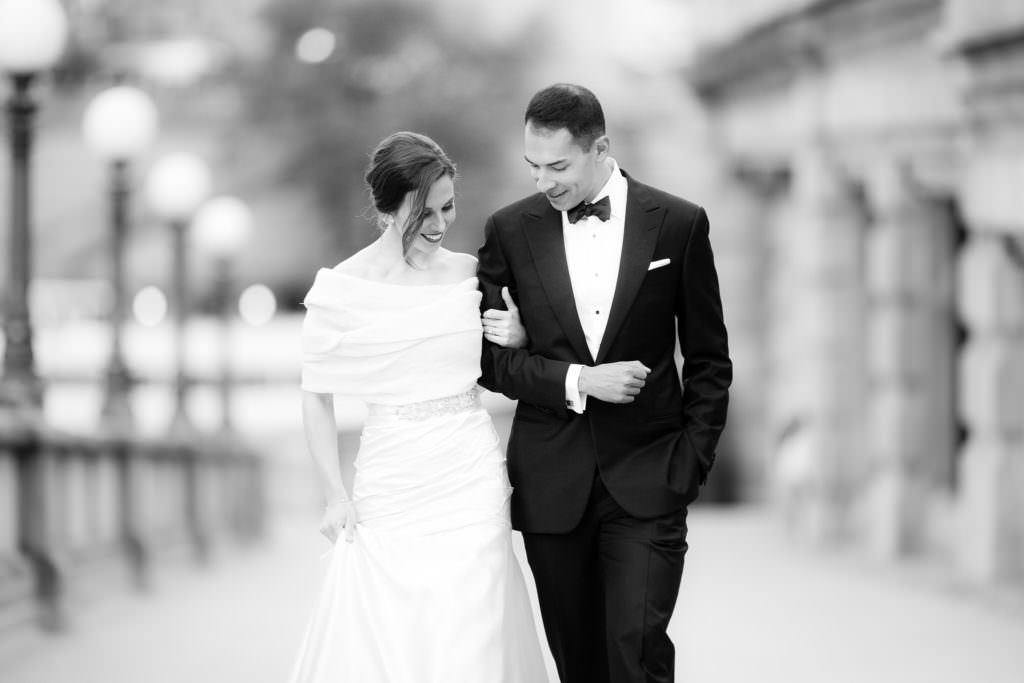
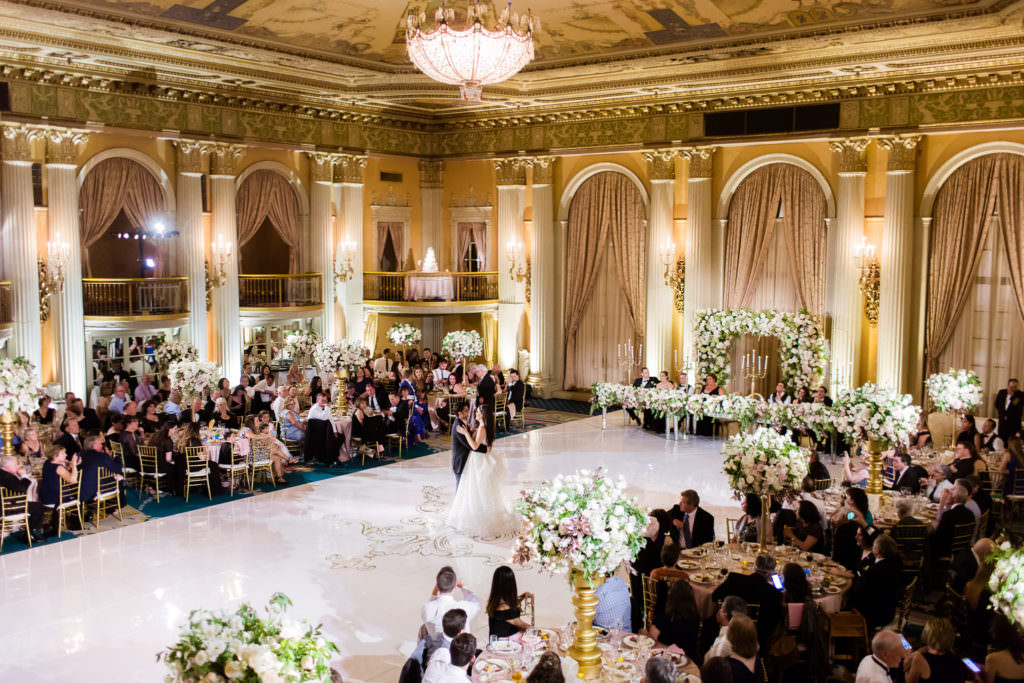
When it comes to lighting, wedding days are totally against us as wedding photographers, especially if you do a LOT of First Looks, like Jeff and I do.
Because we’re shooting First Looks before the ceremony, we’re also shooting the wedding party and family portraits – ALL in the harsh afternoon sun. (Check out our perfect wedding day schedule here to learn more about how we setup our wedding days!)
And if your photography style is anything like ours, then you’re looking for soft natural skin tones in your images and you want every single beautiful image to seem like it’s been taken at the PERFECT pinky-blue sunset hour…
But the realities of a wedding day definitely don’t always allow for the perfect photographic lighting, am I right??
I mean, who has two thumbs and ends up shooting 18 person bridal parties at high noon in July? Four weekends in a row??? This girl.
But there’s so many ways to handle a harsh lighting situation in the middle of summer when it just seems like the sun is NEVER going to get any lower in the sky.
So how do Jeff and I handle the afternoon sun to shoot soft, natural, even skin tones in super harsh sunlight?
Check out my six technical in-camera tips below as well as my best posing methods for shooting natural portraits in harsh afternoon sun!
SIDE NOTE: Avoiding harsh sunlight is a part of our particular photographic style. Others may welcome harsh sunlight as a part of their artistic eye, or some may use artificial lighting to overpower the sun and create high-fashion looks. Those are both GREAT styles, but I want to outline how we stay within our particular soft, natural style in harsh, mid-day situations.
OK, game on.
Your Basic In-Camera Settings
1. SHOOT IN MANUAL
The only way you can properly expose skin tones in a harsh sunlight situation is by putting your camera in manual mode. As smart as cameras are these days, there will be a LOT of light bouncing around your subject and your light meter won’t give you an accurate reading if you’re in Aperture Priority or the Program mode where your camera has to make decisions for you.
Your camera will overcompensate for all of the really bright light in the image by underexposing your images. So you have to be smarter than the camera and tell it NOT to do what it *thinks* it should do.
So take a deep breath and take the leap into manual, if you haven’t already.
(Side Note: We used Tip #4 to create this portrait of Kaitlyn out in the barley field on their ranch in Montana. Kaitlyn’s dream was to have photos of them on the wedding day out in a golden field that stretched out to the blue mountains beyond. So we put her at an angle to the sun that matched her exposure with the exposure of the mountains in the background to bring out the colors.)

2. WIDEN YOUR APERTURE
Harsh sunlight is undesirable because it creates hard shadows on the skin that highlight little facial details (i.e. blemishes, pores, imperfections, discolorations, wrinkles, etc), which is totally unflattering.
So your overall goal as the photographer in a harsh sunlight situation is to soften the light on your subject’s skin and create a more pleasing skin tone.
We typically shoot between f/1.2 and f/2.5 for most of our bride and groom portraits, because a wider aperture particularly helps in harsh sunlight situations to soften skin tones.
It’s important to note, however, that when shooting at such “wide open” apertures it’s increasingly difficult to maintain a sharp focus on your subjects. So slow down and take the time to focus properly when shooting with these settings.
Otherwise you’ll be angry at me. #keepcalmandlockyourfocus

So throw your camera into manual, widen your aperture, then…
3. PUT THEIR BACKS AT AN OFF-ANGLE TO THE SUN (FOR SKIN TONES)
High noon is the only time of day that there will be absolutely no angle to the sun, but if you’re at least 30 minutes on either side of that, you can take advantage of what sun angle exists.
When you’re trying to soften your subjects’ skin, you don’t want harsh sunlight to directly hit your subjects’ faces.
So put their backs at an angle to the sun so that their faces are completely shaded.
You will get a rim light of blown-out highlights around their heads and bodies, so minimize the amount of blown highlights that you show in your frame.

4. MATCH THEIR SKIN EXPOSURE TO THE BACKGROUND EXPOSURE
The biggest problem with harsh sunlight happens when the background is at an extremely different exposure than your subject. This is when it’s really tough to expose everything correctly and have it feel “natural”.
There’s a few ways you can get both your subject and your background to be exposed the same.
Option #1: You can use off camera lighting or a flash to artificially create the exposures you want. (If this is your style, then go for it.)
Option #2: You can find locations where the exposure of your subject MATCHES the exposure of the background. (Which is the option we choose because our style doesn’t typically involve off-camera lighting.)
What We Do:
If there’s just a little angle to the sun, then even if there aren’t huge areas of beautiful open shade, we try to find backgrounds that are just shaded enough – typically the sides of taller buildings, a grove of trees, or even mountains in the distance.
We face our couple away from that background, so that both their face and the background is at the SAME exposure, and even if the ground in between our couple and the shaded background is flooded with bright harsh light, the important elements are in the same lighting condition.
That means both my couple AND the background will expose the same way in my camera, so I can shoot them how I would like, and I’ll be able to get even colors and tones in post-processing as well.
Take Andrew and Shannon’s wedding, for example.
We photographed their portraits and wedding party at about 3:00pm in the afternoon in August. The sun was SUPER bright and harsh, but we used the shaded side of a building to match the background with their skin.

We did the same with Nick and Stephanie’s wedding. Their First Look was at 1:00pm or so, and this was the only spot of shade on the property of their venue. So we faced them away from the sides of this shaded building, so the exposure of their skin and background were the same.

Now the opposite is true as well – if the background is in full bright sun, then if you put your subject in that same bright sun, then the exposures will be the same.
We do this only when we’re shooting at a really scenic location like the beach or the mountains, and we don’t do any up close images with their faces in bright sun (see the posing tips below).
For example, with Ben and Laura’s wedding, their First Look was at 1:00pm as well, so we faced them towards the sun out on a jetty so that we could expose for the beautiful bright blue of the ocean.
We could soften their skin a bit more in post later, and then we scheduled a few minutes of beautiful soft portraits of them after the ceremony when the lighting was soft and gorgeous.


5. USE SPOT METERING
In order to create a soft, pleasing skin tone, you will need to expose properly for the skin.
Switch your camera to spot metering so your meter won’t lie to you – as much.
With spot metering, your light meter will expose for the small area in the center of the frame instead of trying to expose for the entire photo.
Here’s a great explanation of spot metering.


So you have your camera in manual, you’ve widened your aperture, you have your subjects’ faces shaded, and you’re spot metering just for their skin.
Now what?
6. OVEREXPOSE FOR THE SKIN
Your camera will try to underexpose whatever you’re focusing on because there is so much light bouncing onto the meter and it thinks it needs to make things darker.
But because you’re in manual you will need to override your camera’s meter and slow down your shutter speed enough to create bright, fresh skin tones.
(In fact, we like to overexpose our images to create brighter, cleaner skin tones quite often –not just in harsh sunlight situations.)
Sometimes you will need to overexpose by just a little to get great results, but other times you’ll be overexposing by several stops.
It all depends on the particular situation.
(These photos of Josh and Corinne were all taken at about 1:00pm in the patchy shade of sparse trees. It was BRIGHT, HOT, and HARSH. Notice how we filled the backgrounds with shaded patches as much as possible, blurred it out with a wide aperture, and then overexposed for skin. We also had diffusers on hand to help fight off any patches of sunlight on their foreheads while we were cropped in close.)

Five Posing Tips To Deal With Harsh Sunlight
Those are some basic in-camera techniques to shooting in harsh sunlight, so once you master those, try these extra tips that we use quite often.
1. USE YOUR COUPLES TO SHADE EACH OTHER
Get rid of sun blotches on your bride’s forehead by having the groom shade it for you with his head.
It may sound weird, but bride’s love being taken care of by their grooms.

2. DON’T LOOK AT THE CAMERA
Avoid those terrible under eye shadows by never having your couple look at the camera in high noon sunlight that you can’t shade somehow.
Crop in close to their faces and have a second shooter or an assistant use a diffuser on their skin or wait until you can find some shade to get that necessary “looking at the camera” hero image.
3. USE THE HARSH LINES TO YOUR ADVANTAGE.
Get artistic and use the sun to your advantage. Grab a little flare, wash out your lens, or use the lines of harsh shadows in your composition.
Disclaimer: Only do this if it reflects your style.

4. GO INSIDE
Not feeling the high noon outdoors?
There will be a lot more sun coming through interior windows during this time, so go inside and take advantage of it.

5. USE A DOORWAY
Use the bright and lovely fall-off light in doorways. This kind of soft, even light makes skin look FABULOUS.
(This was taken around 2:00pm or so… Jeff and I are standing in the BRIGHT sun shooting back into the hotel.)

Again, these are methods that we use to stay within our photographic style while working within the realities of the wedding day.
Other photographers may welcome harsh light to produce their particular imagery, but our style is focused on clean, fresh, creamy skin tones, so we’re always looking for ways to create soft, even light.
What are some of your tips and tricks for dealing with harsh sunlight at your shoots? Hop into our Photographer-Only Facebook Group and leave a comment or ask a question there!
Hugs,
Erin


