It’s a challenge that I love…
I’ll walk into a reception just before guests are allowed in, the staff is hurriedly setting out glasses, the coordinator is lighting candles, and I have T-minus-five-minutes to capture it all…
Call me crazy, but I get a rush from it! And I always have!
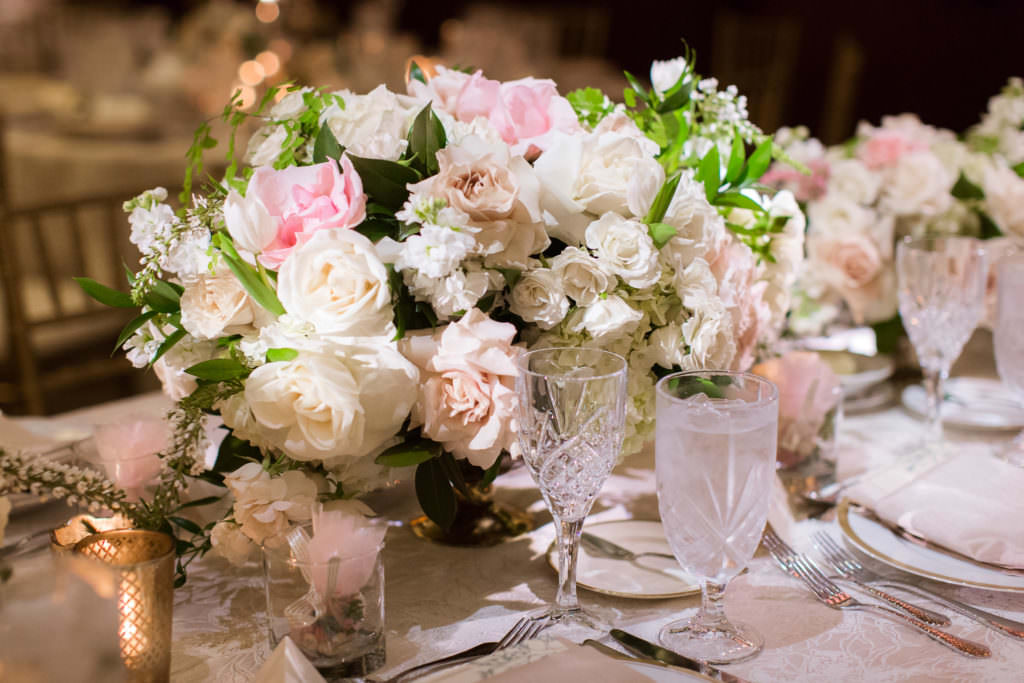
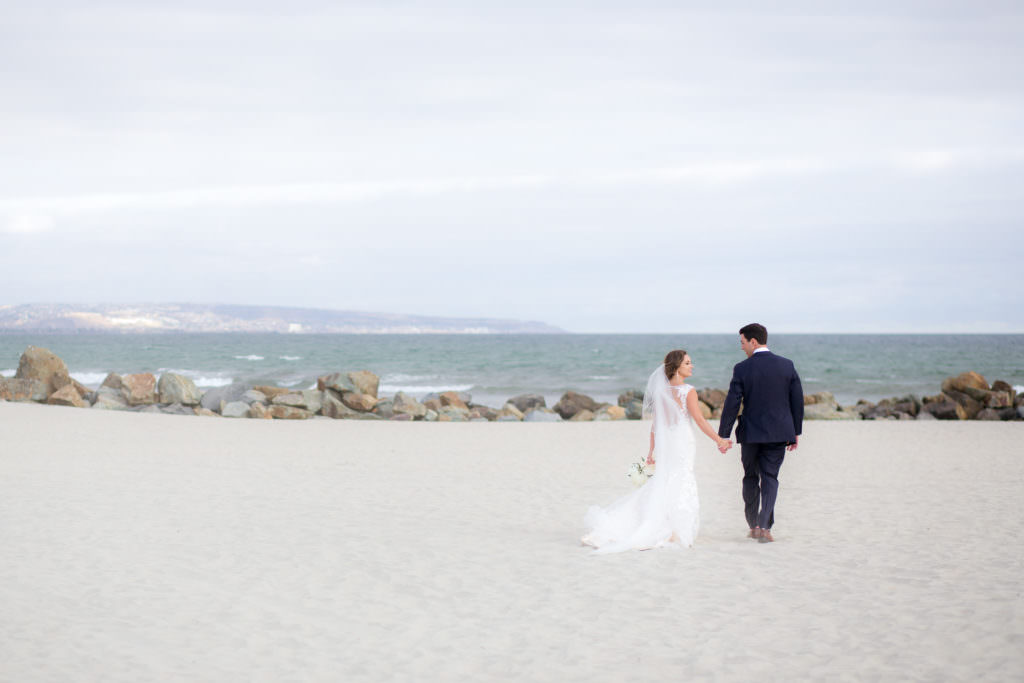
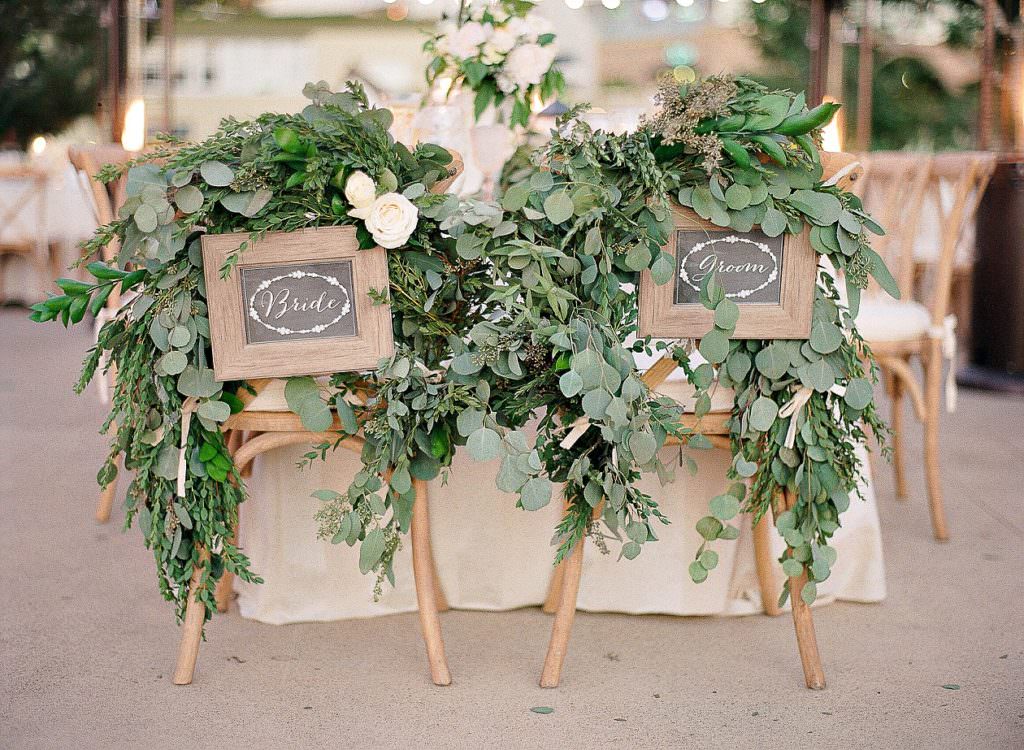
Whether the wedding takes place in a backyard or a ballroom, a barn or a beach, I love photographing reception details! It doesn’t matter how big, small, grand, or intimate the details may be, every napkin and escort card has been thought about. Every flower and candle has been dreamt about.
ALL of the little touches tell such a beautiful story about the couple.
In the end, when the lilies fade away and the plates are gathered up at the end of the night, my job as the photographer is to make sure that none of it is ever forgotten.
It’s my HONOR to photograph each and every little thing, AND it’s so much FUN! (I’m such a sucker for #prettylittledetails!)
But the reality is that after a year of planning and months of preparation, photographing the reception details can come down to just a few hurried minutes of frantically shooting centerpieces in between family portraits and the grand entrance.
So how can you make sure nothing important is missed while working FAST?
How can you make even the smallest details look lovely and beautiful for your couple and the vendors?
How you can turn a not-so-fab wedding into something you’re proud to show off in your portfolio?
Below are the three steps that I follow at every wedding to make sure the reception details are captured beautifully for both our couple, our team of vendors, and for our portfolio.
(PLUS, I included a bonus at the end of this post where I talk about how I quickly and easily light the details if the reception is indoors or in a dark lighting situation!)
Step One: PLAN IT
The first step to shooting beautiful detail photos – especially when you don’t have very much time – is to work in a systematic fashion.
In other words – have a game plan!
You will need to work VERY efficiently if you’re going to get photos of everything that’s important as well as keep the day running on time.
For me, the very first thing I like to do when I walk into an empty reception is to take stock of the situation.
I ask myself:
What critical details need to be photographed FIRST before guests arrive?
What can wait until the end?
What can be done while guests are around?
With those questions in mind, I attack the details in this order:
Escort Cards
If the wedding has those lovely little escort cards that are sitting beautifully in perfect rows along a display table, then they almost always need to be photographed FIRST because (depending on where they are) guests get to those immediately! So get great photos of the escort cards right away!


Wide Room Shots
After shooting critical details like the escort cards, I quickly walk around the entire reception to get a feel for the lighting from every single direction.
As I’m walking, I take a BUNCH of test shots so I can figure out the best angles for the room and dial in my settings.
So many times, I’ve found that the angle that I initially thought would be totally awesome for a wide reception photo, isn’t as great as the angle from the other direction!
So as a rule of thumb, I always try to look at the room (or the garden or the barn or the backyard) from ALL angles before shooting my wide shots of the space.
Sometimes this means that I have to run around the space like a madwoman – but hey – it’s all in the name of getting the best shot for everyone!
Only when I have my angles finalized will I ask the catering staff and coordinator to clear the area.
I want to work as quickly as possible while they wait for me to do my work. The last thing I want is to be the photographer that made the grand entrance run late because my photos took forever!
Once the staff has graciously cleared the room, I take my wide room shots VERY fast.


Mid-Room Shots
While I have the room cleared, I also like to quickly take what I call “Mid-Room” shots. These are photos of sections of the room like full tables, the head table, and any other photos of big elements (a projection on the dance floor, decor installations, a DIY dessert bar, a handbuilt bar area, etc).
Lastly, I shoot some quick layered shots of tables and centerpieces while the room is empty – see what I mean by layering below! Remember, I’m doing this in a matter of 2-3 minutes!


Then when I have my wide room and mid-room shots finished, I will let the staff and coordinator know that they can come back in.
The more quickly I do this, the happier the coordinator will be! But I also want to give myself enough time to get the beautiful photos that they will love to have later!
Mid-to-Small Details
After I’ve gotten my fabulous wide and mid-room shots, I like to work my way from shooting bigger details (like centerpieces, chairs, florals & full tables) to smaller and smaller details (like place settings, menus, place cards, candles, etc).
I like to leave the smallest details until the very end because if we’re super crunched for time, the coordinator may need to let guests into the reception before I’m completely done, and I can still photograph small details while people are getting seated.


Cake & Desserts
Lastly, I will almost always wait to photograph the cake or desserts until the very end because (usually!) it won’t get disturbed by guests right away – or at least that’s the hope!
Ideally, I would love to finish my detail photos everywhere else and still have a minute or two to shoot the cake before guests arrive – that would be perfect!
But as we all know, there’s so many times when we have to be flexible and work with the time we’re given.
So if I run out of time and the guests need to be seated, I will shoot a super fast ‘must-have’ shot of the cake, and then I’ll wait to photograph it in more detail later in the reception – usually during dinner when guests are eating and I have some time to think about it more!

Of course, if the cake is a centerpiece of the reception decor, and it’s sitting like a beautiful statue in the middle of the room, then I’ll photograph it during my wide room and mid-room shots to make sure it’s featured beautifully!

Shooting the details with a game plan in mind helps me SO MUCH – especially when I’m super crunched for time! I love shooting everything systematically because I know with confidence that I photographed everything necessary in a beautiful way.
When I don’t have a plan, I find myself walking into a reception and “spraying and praying” – hoping that I got everything, and that doesn’t feel very good to me!
Step Two: Compress It
While I’m shooting all of the reception details with my game plan in mind, there are two techniques that I LOVE to use that make the details look gorgeous – no matter how big or small they may be in real life…
Because what if your receptions don’t have big details? How can you make just a simple centerpiece or table setup feel full and beautiful?
The answer: compress it!!
So many times, wide angle lenses – like a 35mm or a 50mm – can make details seem flat and boring, even if they’re big beautiful centerpieces with lots of lush florals.
So instead, I like to use longer lenses for details.
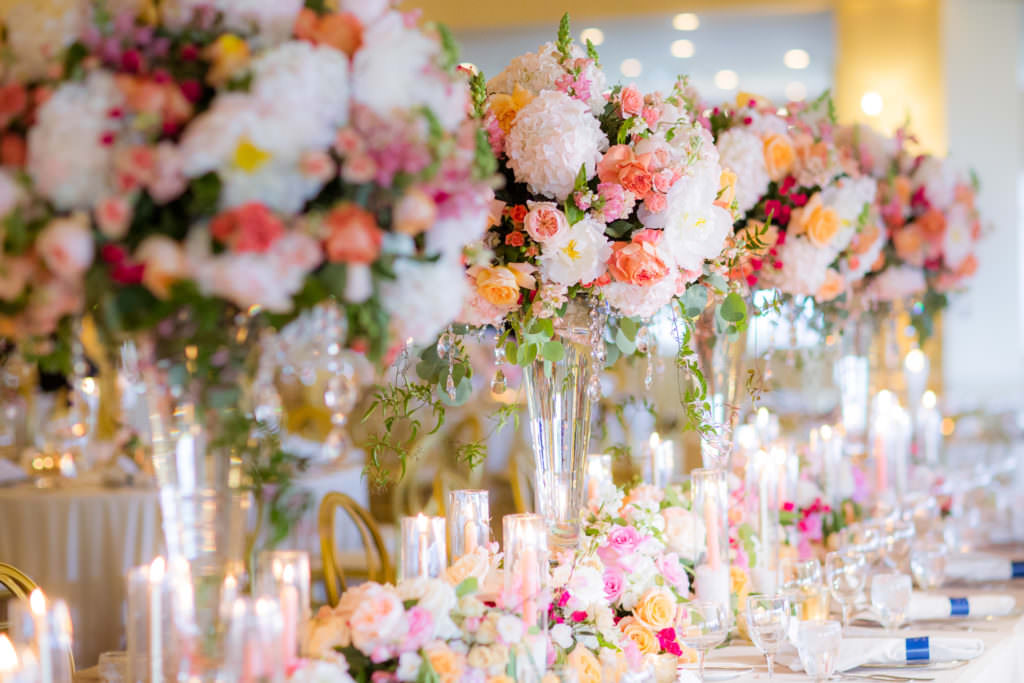
I use our 85mm f/1.2 or even our 200mm f/2.0 a LOT for details like centerpieces because a longer lens will “compress” the image together. (Compressing simply means that the background in the image looks like it’s pushed up against the subject.)
Since longer lenses compress the subject and the background together and usually produce more bokeh (blurrier background), those two things will make the florals seem ‘fuller’ than they really are.
In fact, I absolutely LOVE shooting centerpieces with our 200mm f/2.0! I’ll stand across a room and shoot tons of details with this super long and creamy lens.
It makes it appear as though there’s more going on with the details than in reality.


The best part of using longer lenses is that if there aren’t very many details on the table, or there are really unattractive elements in the background, then you can use longer lens to crop them out!
Let’s say you’re shooting in a church reception hall with exit signs everywhere, the chairs aren’t that great, and the centerpieces are tiny.
A long lens will blur out the exit signs in the background, crop out the not-so-awesome chairs, and make a centerpiece look bigger than it really is. Win win win!
Which brings me right to my next point…
Step Three: Layer It
Another trick to making details seem bigger than they really are is to layer the elements in your detail images as much as possible.
When you put elements in the front of your subject or behind (or both – I love when I can do that!), then your details look totally drool-worthy (and the coordinator will absolutely love you)!


This means shooting across a few tables with your long lens to make the tables seem as though they’re closer together. This makes the room feel intimate and cozy!


Or shooting through some wine glasses or down a long table.


The perfect mix of layering and compression will make any reception look so oh-so-swoon-worthy in your photos!

Bonus: Light It!
Is the reception indoors? Like in a ballroom, a barn, or even a tent? Or do you need to photograph the outdoor details after the sun has gone down?
The key to creating drool-worthy indoor reception images is to create the right light so they look amazing!
Lighting florals and details isn’t entirely the same as lighting people, so you’ll need to think about them a little differently.
For example, when you’re lighting people, generally you want to avoid lighting that is too direct and harsh – like light coming directly from overhead or even directly to the side – because it will create things like dark under-eye shadows and will highlight blemishes and skin imperfections.
However, with details, you generally WANT to show the layers and creases and nuances of the details, so you want to avoid flat lighting and create angles as much as you can.
Flat lighting – like pointing a flash directly at a centerpiece or shooting with window light falling flat on the detail – will make the details look two-dimensional.
For example, I pointed my flash directly at this centerpiece… Ummm yeah… #notsoprettylittledetails

Instead, I love creating angles with my light as much as possible, so a better option would be to bounce my flash off of a wall or the ceiling to light a centerpiece.
Here’s the same centerpiece with the flash bouncing off the ceiling at a 45 degree angle behind me over my right shoulder. MUCH BETTER.

HOWEVER, I still don’t think that this is the BEST way to make this centerpiece look amazing, because the light doesn’t have enough angle. Plus, bouncing the flash tends to wash out the uplighting in the background.
In my opinion, the absolute best lighting for details is anywhere between a 90 to 120 degree angle away from me because the light will fall across the details in a way that will make them look three-dimensional and full, especially florals.
There’s two ways to create this kind of angled light…
#1: You can find a window and use that light to photograph the details on a table nearby. Just put yourself at a 90 to 120 degree angle away from the window and let the window light fall across the centerpiece or the place setting to highlight all of the beautiful details.
(You can also have someone hold a diffuser on the opposite side to bounce some of that window light back into the shadows if they’re looking too dark in the image.)


#2: You can create the light for yourself!
To do this, you can certainly set up an off-camera flash, but Jeff and actually LOVE to use handheld LED video lights instead.
Our LED Video Lights (Vibesta Capra 12B Bi-Color) are super portable, so I can walk around an entire reception room and shoot anything that I need to VERY quickly.
I can either have Jeff or an assistant hold the light for me, or I can easily put it on a small portable stand if I’m by myself. (We have two which I love, but just one would be a great tool to have!)

Then I can light the details exactly how I want by creating beautiful light falling across the wine glasses, the centerpieces, the place settings, or the candles. I can make any detail look like it’s being lit by elegant lighting, even if I’m inside a dark barn or a bland ballroom.
This image is lit entirely with one video light – beautiful!
Here’s the same centerpiece using our LED Video Light at a 90 degree angle and slightly above the centerpiece. Beautiful!

Plus, I can color balance our particular video lights to match the warmth or coolness of the room, which I can’t do with window light.
This means I can make my video light as warm or as cool as I need it to be to match the ambience, so when I edit my images later, the background won’t turn super blue or super orange when I correct for the color temperature of the centerpiece.
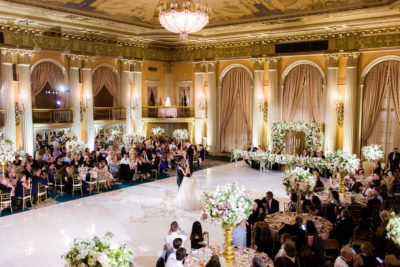
This is SO helpful when there’s warm market lights hung up above or there’s blue up lighting along the walls of the space like this ballroom below. Using the two lights, I had my assistant point one at each chair on the coolest color setting possible to make them stand out.


The video lights we use are incredibly affordable too! Video lights can be a little too expensive to be practical sometimes, but we were so excited that these more affordable versions came out that use rechargeable AA batteries – the same batteries we already use for our flashes – so they make SO much more sense!
So remember the three steps to creating beautiful detail images at your receptions:
- Plan It
- Compress It
- Layer It
And if you’re shooting indoors, remember to Light It!
So now my question for you is, “What is YOUR best tip for shooting gorgeous detail images at your receptions?” Hop on into our private Photographer-Only Facebook Group and join the conversation!
Hugs,
Erin